How to Observe the Zodiacal Light from a Dark Rural Site
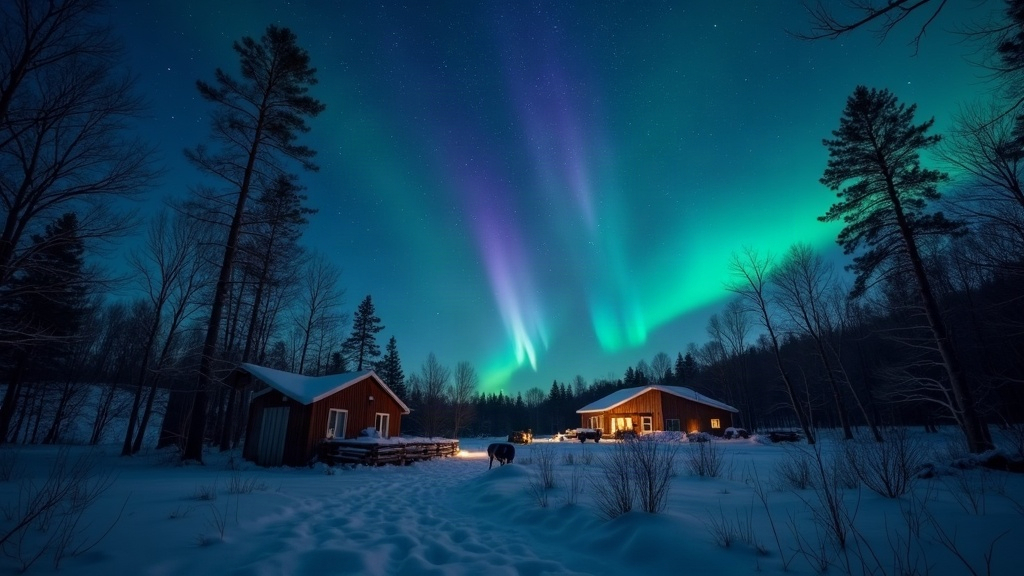
The zodiacal light doesn’t get nearly enough credit. It’s a faint, cone-shaped glow, sunlight bouncing off interplanetary dust, that climbs up from the horizon after evening twilight fades or just before dawn breaks. Late winter and early spring nights give Northern Hemisphere skywatchers their best shot at catching it, but only if you can find a truly dark rural spot and know precisely when and where to point your eyes.
What Exactly Is the Zodiacal Light?
Picture countless tiny dust grains, leftovers from comets and asteroids, scattered thinly along the plane of our solar system (astronomers call this the ecliptic). Sunlight glances off these particles and produces a soft, diffuse glow: a faint pyramid or cone rising from the horizon, tilted to follow the same path the sun and planets trace across the sky.
- It glows brightest near the horizon, then fades gradually as it climbs.
- The color is a pale, milky white. Beginners often mistake it for light pollution.
- Don’t confuse it with the aurora, airglow, or the Milky Way, though on a good night all of these can show up in the same wide-field photo.
Why Late Winter Is the Best Time to Look
Here’s the geometry that matters: in the Northern Hemisphere, the ecliptic hits its steepest angle against the western horizon after sunset during February and March. That steep tilt pushes the zodiacal light nearly vertical in the evening sky shortly after dusk, lifting it well above the horizon haze and cutting down on atmospheric extinction.
- Best months: Late February through early April (it shows up in the evening, after sunset, low in the west).
- Best time of night: 60 to 90 minutes after sunset, once true astronomical twilight has ended but before the glow drops too close to the horizon.
- Moon phase matters most: Plan around the new moon week. Even a quarter moon is enough to wash out this glow completely.
Choosing a Dark Rural Site
The zodiacal light is often fainter than the Milky Way’s band, so where you stand makes or breaks the experience.
- Bortle scale 3 or darker. Check a light pollution map (lightpollutionmap.info works well) and steer clear of city glow domes.
- Clear, low western horizon. You need an unobstructed line of sight toward where the sun went down. Hills, trees, rooftops, any of that will block the base of the cone, right where it’s brightest.
- Higher elevation helps. Thinner air above the valley haze and dust improves contrast noticeably.
- Skip humid or hazy nights. Moisture in the air scatters light and can either fake the glow or bury it entirely.
Step-by-Step Observing Method
- Check the forecast days ahead: clear skies, low humidity, minimal moonlight.
- Get to your spot before sunset so you can scout the western horizon in daylight and set up gear without fumbling in the dark.
- Let your eyes adapt to darkness. Give it 20 to 30 minutes minimum, no phone screen during that window.
- Look west-southwest about an hour after sunset. You’re looking for a broad, faint triangular haze angled up from the horizon.
- Use averted vision. Glance slightly to the side of where you expect the glow instead of staring right at it. Your peripheral vision picks up faint light better than direct central vision does.
- Compare it to the Milky Way’s band if it’s visible that night. The zodiacal light looks smoother, less mottled, with none of the dust lanes or star clusters that give the Milky Way its texture.
Photographing the Zodiacal Light
A camera picks up the glow even when it’s right at the edge of naked-eye visibility.
- Go wide: a 14-24mm lens at f/2.8 or faster.
- Set ISO somewhere between 1600 and 3200, exposures of 10-20 seconds to keep stars as points, not trails.
- Shoot RAW and stack several frames. This cuts noise and pulls out the faint glow you’d otherwise miss.
- Frame in some foreground, a treeline, a ridge, an old barn, for scale and a sense of place.
Common Mistakes to Avoid
- Heading out too early, while twilight is still too bright to see it.
- Picking a site with a light dome sitting right on the western horizon.
- Forgetting to check the moon phase. Even a thin crescent can ruin the view.
- Mistaking distant city glow for the zodiacal light. A genuinely dark site clears up that confusion fast.
Conclusion
Catching the zodiacal light takes patience, a bit of planning, and skies that are actually dark. Late winter hands you the steepest, most favorable geometry all year, so pick a new-moon week, find a rural spot with an open western horizon, and give your eyes the time they need to adjust. Once you’ve learned to spot that soft pyramid of interplanetary dust glowing against the twilight, chances are you’ll be chasing it again on every clear, moonless evening you get.