Beginner's Guide to Viewing Sunspots Safely with a Solar Filter
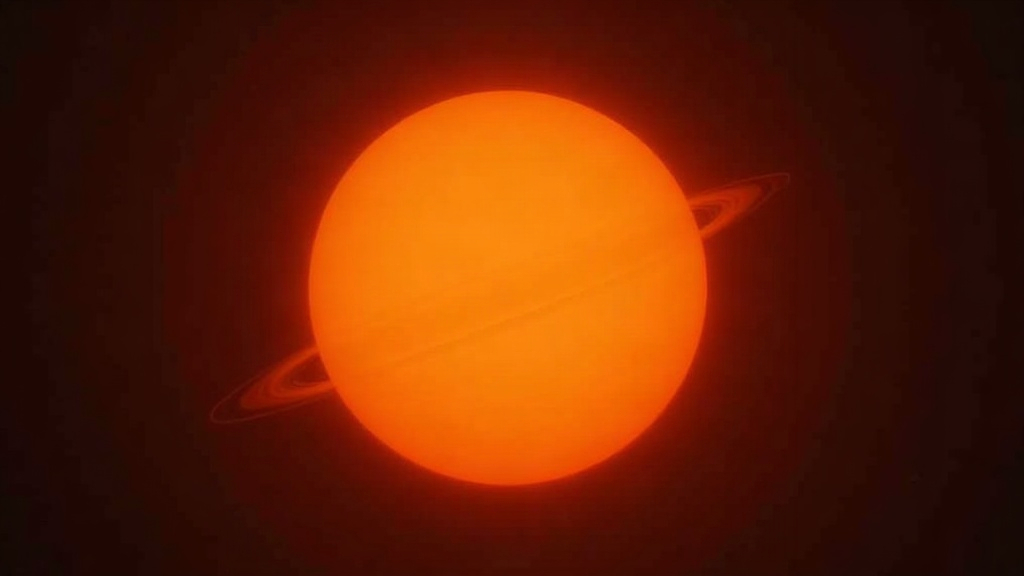
Watching Sunspots Safely With a White-Light Solar Filter
Watching sunspots drift across the solar disk is one of the most rewarding things a beginner astronomer can do during daylight hours. It’s also one of the few hobbies where a single careless moment can cost you your eyesight, permanently. This guide covers everything you need to know about viewing sunspots safely with a white-light solar filter: choosing the right gear, setting up correctly, and actually reading what’s happening on the Sun’s surface.
Why You Need a Solar Filter, No Exceptions
The Sun is roughly 400,000 times brighter than a full moon. Look at it directly through a telescope or binoculars without proper protection and you risk instant, irreversible retinal damage, often with zero pain to warn you something’s wrong. That’s the scary part: your eyes won’t necessarily tell you anything is happening until it’s too late.
- Sunglasses are not enough. Not even close. Even welding glass of unknown rating is a gamble you shouldn’t take.
- Eyepiece-end “sun filters” bundled with cheap department-store telescopes are genuinely dangerous. They sit at the focal point where heat concentrates, and they can crack without warning. Toss them.
- Only front-mounted, full-aperture solar filters rated for visual solar observation (ISO 12312-2 or equivalent) are safe to use.
A proper white-light solar filter blocks over 99.999% of incoming sunlight, letting through just enough to reveal the photosphere, the visible surface layer where sunspots actually live.
What Is a White-Light Solar Filter?
White-light filters show the Sun roughly in its natural color spectrum, though the exact tint varies by material: some render it crisp white, others a warm yellow or orange. They’re different from Hydrogen-alpha (H-alpha) filters, which reveal prominences and flares but run into the hundreds or thousands of dollars. For someone just starting out, white-light filters make a lot more sense:
- Affordable. Expect to pay somewhere between $30 and $150, depending on your telescope’s aperture size.
- Easy to use. No tuning, no etalons, no fuss. Attach it and look.
- Great for sunspots, faculae, and the occasional transit (Mercury or Venus crossing in front of the Sun, for instance).
Common Types of White-Light Filters
- Glass filters (Baader AstroSolar glass, Thousand Oaks, and similar). Durable, optically crisp, a bit pricier.
- Polymer/film filters (Baader AstroSolar film is the classic example). Lightweight, cheap, the image is slightly softer but honestly still excellent for the money.
- Herschel wedges. These work only with refractors. The contrast you get is outstanding, but there’s a steeper learning curve and more technical setup involved.
Step-by-Step: Setting Up for Safe Solar Viewing
- Buy a filter sized for your telescope’s full aperture, not just the eyepiece. It needs to cover the entire front opening completely.
- Inspect the filter before every single session. Hold it up to a bright light and look for pinholes, tears, or scratches. Found damage? Throw it away. Don’t “just this once” use a questionable filter.
- Attach the filter securely over the front of your telescope before you point it anywhere near the Sun, not after.
- Never leave the finder scope unfiltered. Cap it completely, or fit it with its own miniature solar filter. Better yet, aim your telescope using its shadow on the ground. If the shadow is a tight circle, you’re roughly on target.
- Keep early sessions short. Solar viewing can tire your eyes out faster than you’d expect, even with a filter doing its job properly.
What You’ll Actually See
With a white-light filter in place, here’s what shows up:
- Sunspots. Dark cores (the umbra) surrounded by a lighter penumbra. These form where the Sun’s magnetic field gets tangled and intense.
- Faculae. Bright patches near the Sun’s edge, usually easier to spot close to sunspot groups.
- Granulation. A faint, mottled, almost cellular texture across the surface. You’ll need steady atmospheric conditions and decent magnification to catch this one.
Sunspots aren’t static. Track the same group for a week and you’ll watch it rotate across the disk, following the Sun’s roughly 27-day rotation period, while also changing shape, growing, shrinking, or vanishing altogether.
Best Times and Conditions to Observe
- Late morning through early afternoon tends to give you the steadiest air and the sharpest view.
- Stay away from hot pavement or rooftops. Rising heat shimmer will blur your image no matter how good your filter is.
- Check a solar activity forecast (NOAA’s is a solid free option) to see whether sunspot activity is running high right now, which matters a lot depending on where we are in the solar cycle, especially near solar maximum.
Common Beginner Mistakes to Avoid
- Pulling the filter off “just for a second” to get a brighter look. Don’t. Ever. This is how people damage their vision.
- Buying a no-name filter with no safety certification because it was cheaper on some marketplace listing.
- Leaving kids to observe unsupervised, even when the telescope is properly filtered. Curiosity plus an unfiltered finder scope is a bad combination.
Final Thoughts
Safe sunspot viewing really comes down to three habits: use a certified, full-aperture filter, check it every time before use, and never cut corners on safety, not even once. Get that right, and you can watch the Sun’s surface change day to day right from your backyard, sunspots forming, drifting, growing, fading out, all without putting your eyes or your equipment at any risk.