How to Align a Telescope Finder Scope During the Day
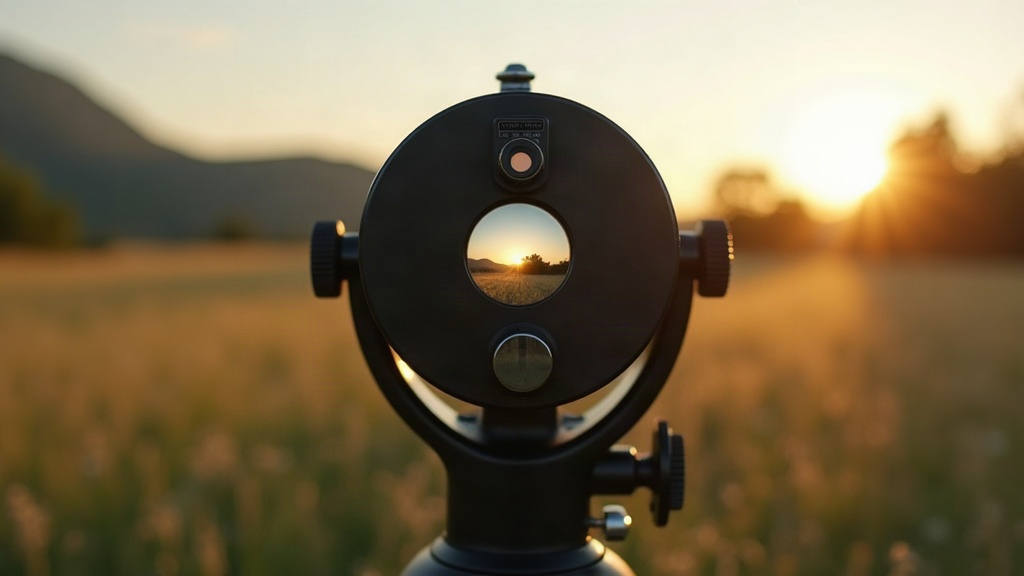
If you’ve ever swung your telescope toward the sky only to discover your finder scope is pointed nowhere near your target, welcome to the club. Here’s the good news: you don’t need to wait until dark to sort it out. You can align a telescope finder scope during the day using a distant object, and honestly, it’s easier than wrestling with it at night while holding a flashlight between your teeth.
Why Align Your Finder Scope During the Day?
A finder scope is that small, low-power scope (or red-dot sight) bolted onto your main telescope tube. Its whole purpose is to help you spot objects quickly before you switch to the main optics for a closer look. If it’s off even slightly, you’ll end up scanning the sky forever, never quite sure where your main scope is actually pointing.
Doing this in daylight gives you a few real perks:
- Better visibility — you can actually see what you’re pointing at, clearly.
- No rushing — no mosquitoes biting your neck, no numb fingers, no star drifting out of view while you fumble with screws.
- Stable, stationary targets — distant objects barely move (yes, technically they shift a little due to Earth’s rotation, but at a pace you won’t notice).
- Easier troubleshooting — you can tweak, check, tweak again, without losing your target the second the sun goes down.
What You’ll Need
- Your telescope mounted on something stable (tripod or equatorial mount)
- A clear line of sight to a distant object, ideally 400 meters or more away
- A screwdriver, or just your fingers if the finder scope uses thumbscrews
- A bit of patience. First-timers usually need 5 to 15 minutes to get it dialed in
Step 1: Choose the Right Target
Look for something stationary, sharp-edged, and far off: a chimney, an antenna, a treetop, a utility pole, maybe the corner of a distant rooftop. Stay away from anything under 300-400 meters. At close range, parallax (that small positional gap between your finder scope and the main tube) will mess with your accuracy. The farther the target, the tighter your alignment will be once you’re pointing at actual stars.
Never point your telescope at the sun. This whole exercise is strictly for ground-based objects. Solar viewing needs certified solar filters, full stop.
Step 2: Center the Object in Your Main Telescope
Pop in your lowest-power eyepiece (it gives you the widest field of view, which makes life easier), then aim your main telescope at the object you picked. Get it dead-center. Once it’s locked in visually, lock down the mount’s motion controls too, so nothing drifts while you’re fiddling with the finder scope.
Step 3: Check the Finder Scope
Now peek through the finder scope. Odds are good your target is nowhere near the crosshair or red dot, maybe it’s off in a corner, maybe it’s not even in the field of view at all. Don’t panic. That’s completely normal, and it’s exactly the problem you’re here to fix.
Step 4: Adjust the Finder Scope Alignment Screws
Most finder scopes come with two or three adjustment screws around the mounting ring, sometimes spring-loaded for smoother movement. Here’s the process:
- Find the screws. They control vertical and horizontal movement.
- Turn them in small steps, checking through the finder after every little nudge.
- Go slow. Big turns will send your crosshair flying past the target, and then you’re just chasing it back and forth.
- Keep going until the crosshair (or dot) lands squarely on your object.
Tip: handle one axis at a time, vertical first, then horizontal. Trying to juggle both at once just leads to confusion and wasted minutes.
Step 5: Double-Check by Re-Centering
Once it looks aligned, nudge the telescope off target on purpose, then try re-centering the object using only the finder scope this time. Switch back to the main eyepiece and check: is the object dead-center? If not, go back and fine-tune again. This step catches sloppy alignments before you waste a clear night on them.
Step 6: Fine-Tune at Night (Optional but Recommended)
Daytime alignment typically gets you about 90-95% there, which is honestly pretty good. Once it’s actually dark, point at a bright star or the moon and make any tiny corrections needed. Since you’ve already done the hard part in daylight, this last adjustment takes maybe 30 seconds, not 15 minutes of cursing in the dark.
Common Mistakes to Avoid
- Picking a target that’s too close. Parallax will quietly sabotage your night alignment without you realizing why.
- Rushing the screws. A quarter-turn can move the crosshair more than you’d think. Go slower than feels necessary.
- Forgetting to lock the mount. One accidental bump and your whole reference point is gone.
- Using high magnification on the main scope. Low power, wide field of view, much easier to center your target.
Conclusion
Aligning your finder scope during the day, using something as mundane as a distant chimney or antenna, saves you a surprising amount of grief once the stars come out. Center a far-off landmark in your main scope, adjust the finder’s screws until the crosshair lines up, and you’re set for fast, accurate stargazing the moment it gets dark. Get it right once, check it every so often, and you’ll spend way less time hunting around the sky and a lot more time actually enjoying what’s up there.