How to Observe Lunar Libration with a 4-Inch Scope
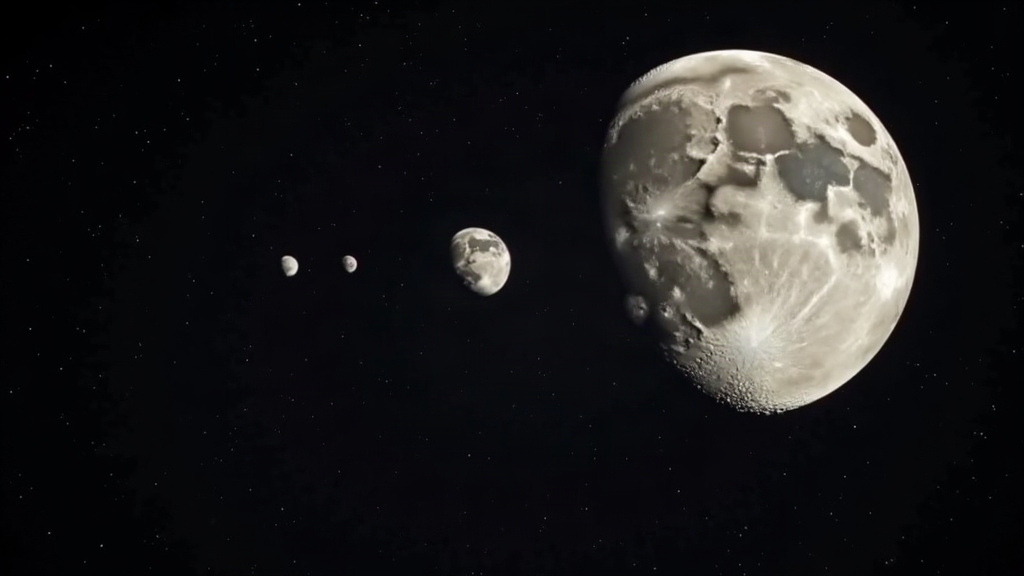
If you’ve ever wanted to sneak a look past the Moon’s edge into territory that’s normally hidden from Earth, lunar libration is your way in, and you don’t need a massive telescope to pull it off. A modest 4-inch (100mm) refractor or reflector, combined with good timing and a bit of patience, is enough to catch limb craters that are usually tilted completely out of sight. Here’s what libration actually is, why it matters, and how to plan a real observing session that lets a small scope punch above its weight.
What Is Lunar Libration, and Why Does It Matter?
The Moon is tidally locked to Earth, which means we only ever see one hemisphere. But here’s the catch: it’s not exactly the same 50% every single night. Because the Moon’s orbit is elliptical and slightly tilted relative to Earth’s equator, it appears to “wobble” from our vantage point. That wobble is libration, and over months of watching, it reveals roughly 59% of the lunar surface instead of a flat 50%.
There are three flavors of this effect:
- Libration in longitude – the Moon’s orbital speed changes as it moves along its elliptical path, but its rotation stays constant, so the two fall slightly out of sync.
- Libration in latitude – a product of the Moon’s rotational axis being tilted about 6.7° relative to its orbital plane.
- Diurnal libration – a smaller shift caused simply by where you’re standing on Earth’s rotating surface, which nudges your viewing angle a little.
Put these three together and you get narrow strips of terrain near the eastern and western limbs (plus the north and south poles) swinging briefly into view. These are regions that are normally foreshortened to the point of uselessness, or hidden outright, including a handful of craters that technically belong to the lunar far side.
Why a 4-Inch Scope Is Enough
You’d think you need an 8-inch monster for this kind of work. You don’t. Limb observing has less to do with aperture and more to do with:
- Timing – catching the Moon when libration is maximally favorable for the specific feature you’re after.
- Seeing conditions – a calm atmosphere beats raw light-gathering power every time here.
- Contrast and magnification – a sharp 4-inch APO, or a well-collimated Newtonian, running at 150-200x can resolve limb craters remarkably well. Why? Sunlight grazes them at a low angle out there, throwing long shadows that do most of the work for you.
Smaller scopes actually have an edge in marginal seeing. Their shorter focal length and smaller aperture simply don’t get kicked around by atmospheric turbulence the way bigger instruments do.
How to Plan Your Observing Session
Step 1: Find Favorable Libration Dates
A few tools worth having on hand:
- Virtual Moon Atlas (free, desktop)
- Libration calendars from astronomy sites and apps (Stellarium has a libration overlay; Moon Globe works too)
- NASA’s Dial-a-Moon tool, which publishes daily libration values
What you’re looking for: dates when libration in longitude pushes past +5° (good for the eastern limb) or -5° (good for the western limb), ideally paired with favorable latitude libration if you’re chasing polar targets.
Step 2: Match Libration with Lunar Phase
Timing libration alone isn’t enough. You also need grazing sunlight for the shadows to pop. Cross-check your libration-favorable dates against where the terminator sits, so the sun angle over your target region stays low. That usually lands you somewhere near first or last quarter, depending on which limb you’re chasing.
Step 3: Pick Your Targets
A handful of limb craters are classic enough to be almost “starter” targets once libration cooperates:
- Mare Orientale – a multi-ring impact basin tucked on the southwestern limb, arguably the most photographed libration target there is.
- Hertzsprung and Korolev – far-side craters that creep into view during a strong western libration swing.
- Crater Humboldt – a big eastern-limb crater, often the first “real” libration target beginners try.
- Pythagoras and Byrd – near the northern limb, visible when latitude libration lines up.
Observing Technique Tips
- Stick to medium-high magnification (150-200x on a 4-inch scope). Cranking it higher doesn’t help; limb features live and die by contrast, not raw zoom.
- Wait until the Moon climbs higher in the sky before you observe. Less atmosphere to look through means less distortion.
- A Moon filter or an aperture mask can help if glare is drowning out subtle shadow detail.
- Keep a sketch notebook or a planetary camera handy (even a smartphone held up to the eyepiece works). Limb features shift noticeably from one night to the next, so a record is worth more than memory.
- Be patient. Seeing “boils” and calms in waves, and the sharpest detail only shows up in those brief steady moments. Watch for several minutes at a stretch instead of taking one glance and moving on.
Common Mistakes to Avoid
- Observing on the wrong date and expecting a feature to appear when it’s simply not tipped into view yet.
- Cranking up magnification too far, which just amplifies the wobble from bad seeing instead of sharpening anything.
- Forgetting to check the terminator. Without raking light, limb craters look flat and forgettable, no matter how good your timing was otherwise.
Conclusion
Lunar libration quietly turns a 4-inch telescope into something far more capable than its size suggests. Line up a favorable libration date with low-angle sunlight, and you’ve got a real shot at spotting far-side craters like Mare Orientale or Hertzsprung, features most casual Moon-gazers never think to look for. A star chart app, a little planning, and one clear, steady night are really all it takes to turn an ordinary Moon session into something closer to an edge-of-the-map discovery.